













How to improve travel photos in a free online editor
You came back from a trip with a hundred shots. At home, half of them look paler than you remember: gray skies, crushed shadows, a tilted horizon. Heavy Photoshop is not needed for this kind of editing.
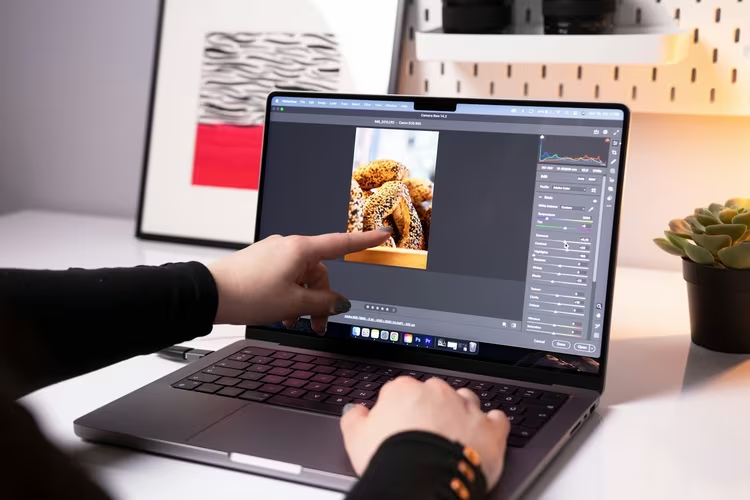
Free online editors work right in the browser: on a laptop, tablet, or phone. You open a file, move a few sliders, and save the result immediately. Installation, licensing, and a powerful graphics card stay out of the picture. Let's look at what to fix first, where to edit photos without installed software, and how not to ruin a shot by over-editing.
Why editing matters
A phone photo rarely comes out the way you saw it. The camera's automatic settings flatten contrast, and noise appears in the shadows. A small adjustment brings back volume, color, and depth to the shot.
A viewer judges a photo in a split second. An evenly lit shot holds attention in a feed, while a photo with a tilted horizon gets lost among others. That's why editing matters just as much as the shooting itself.
Another reason to work on a shot at home: you're calm now and you remember the place. On vacation it's easy to miss a detail, but at your desk you'll notice both the tilted horizon and the unwanted object in the corner.
💡 In short:
- Start with light: brightness and contrast give the most noticeable result.
- Then color and cropping, so you don't have to redo the shot twice.
- Keep a series in one style, so the feed looks consistent.
- Free Adobe Express features: 10/2026, according to Adobe's website.
What a free browser editor can do
An online editor doesn't require a powerful computer. Adobe Express, Canva, Pixlr, and Fotor open in a browser tab and work on a free plan. Their basic toolset is the same: cropping, rotation, brightness, contrast, saturation, filters, and removing unwanted objects.
Adobe Express offers this kind of free photo editing. It's a browser-based editor from Adobe: it opens a photo in a tab, suggests ready-made presets, and performs some operations automatically. According to the company's website (checked 10/2026), you need neither installation nor a paid account to get started.
It also works from a smartphone. You shoot during the day, edit the shot in the same browser in the evening, and publish it. No separate app to install, and the result saves in the usual format.
How to edit a travel photo: six steps
- Pick a shot with a story. Look for a photo where the subject is clear: a street, a sunset, a face. A blurry and empty shot can't be saved by editing.
- Raise brightness and contrast. Many vacation photos come out dark or flat. A bit more light and contrast brings back volume and detail in the shadows.
- Work on saturation. Blue skies, green forests, and orange sunsets bring a shot to life. Keep it moderate: overdone color looks artificial.
- Straighten the horizon and crop. A tilt of a couple of degrees ruins even a good shot. Crop so the main subject is centered, and follow the rule of thirds.
- Apply a filter to match the mood. Warm and soft suits sunsets, cool and clean suits mountains. One filter across the whole series keeps the style consistent.
- Remove distractions. A spot on the lens, a random passerby, trash in the frame can all be removed with the retouch tool. That makes the shot cleaner and calmer.
The order matters: first light, then color, and only then filters. If you swap the steps, you'll keep going back to the start and get confused.
Where to edit photos for free
- Adobe Express. Quick editing right in the browser: cropping, light, filters. Good for urgent tasks.
- Canva. Strong in design, but it also handles photo editing confidently: there are ready-made presets for social media.
- Fotor. Popular with travel bloggers for its templates and automatic corrections.
- Pixlr. Beginner-friendly, and its set of effects resembles desktop programs.
On these platforms you can put together not just a single shot, but also a collage, stories, or a short video. That way the trip looks cohesive online, not like a pile of random files.
Common beginner mistakes
- Overdone saturation. Skin turns orange, skies turn toxic. Keep color within moderate limits.
- Too much sharpening. Halos along edges give away the editing. Reduce sharpening to half.
- Inconsistent style across a series. One shot is warm, the next is cold, the third is high-contrast. The feed falls apart into pieces.
Techniques for a series of shots
- Consistent style. Keep the same brightness and color across several shots: the feed becomes more harmonious.
- Careful sharpening. The sharpness slider emphasizes textures: sand, water, fabric. Overdo it and you get noise.
- Frame and caption. A short caption or a thin frame adds context. This technique works well for Instagram and photo diaries.
⁉️🤔 Frequently asked questions
Do I need Photoshop to improve a travel photo?
No. Browser editors cover the main edits: light, contrast, color, cropping, and light retouching. Photoshop is needed for complex work with layers, masks, and channel-based color correction. For vacation shots, a free online editor that opens right in a tab is enough.
Can I edit photos on a phone?
Yes. Online editors open in a mobile browser just like on a computer. You upload a photo from the gallery, edit it with your finger, and save it back. The features are enough for light, color, and cropping, so there's no need to buy a separate paid app.
How long does editing one shot take?
The basic set of six steps takes a couple of minutes. First light and contrast, then color, cropping, and light retouching. The longest part is matching the style when you're bringing a whole series of trip photos to one look.
Will editing ruin the original?
No, if you save the original separately and work on a copy of the file. Free editors don't touch the photo in your gallery unless you manually replace it yourself. Always keep the original shot as a backup in case an edit goes wrong.
Which editors work without installing software?
Adobe Express, Canva, Fotor, and Pixlr open in a browser tab, no installation needed. Each has a free plan with the essential tools: light, color, cropping, and filters. Desktop programs like Photoshop are only needed for professional work.
In short: how to choose an editor
For quick editing, go with Adobe Express or Canva: they open in the browser and require no installation. For templates and auto-editing, Fotor works well; for a range of effects, Pixlr works well.
To avoid getting confused, keep a series in one style and always save the original. Start with one shot: raise the light, straighten the horizon, and remove distractions. You'll quickly see the difference and repeat the technique on the rest of your photos.

A small editorial team writing guides for independent travel. We travel ourselves, but we haven’t been everywhere, so we check prices, opening hours and how to get there against official sources.