






How to plan a bike route in the Netherlands by junction numbers
Want to ride through the Netherlands on your own route instead of someone else's ready-made track? Use the junction network system (fietsknooppunten) as your foundation. Here, a route is assembled as a list of numbers: you ride from intersection to intersection and decide yourself where to turn.
The first such network opened in 1995 in Belgian Limburg, and later it spread across Belgium and the Netherlands (history of the network). Each bike path intersection gets its own number, and a marked route runs between any two numbers.
Below we break down how the network works, what to use for trip planning, and how to download a ready GPX track to a bike computer or phone.
How the junction network works
💡 In short:
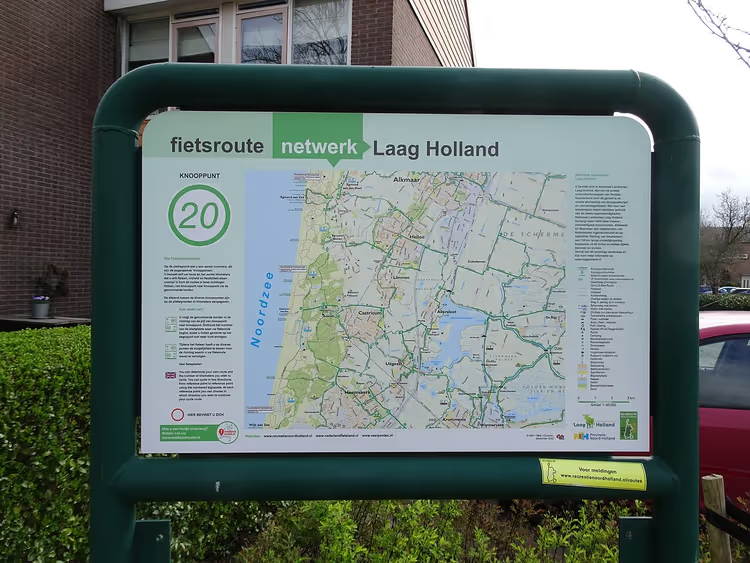
- Each junction is marked with a number and an information board at the bike path intersection.
- A marked route runs between two junctions, with white and green signs that work in both directions.
- You set the ride length yourself: the sequence of numbers determines the kilometers and turns.
- We verified how the system works on 09/12/2026 using data from the national Fietsplatform platform.
Next to the number on the board there is a map of the area with all junctions and the distance to the neighboring intersection (regional maps with distances). Signs are placed at eye level and repeated after every intersection, so it's hard to miss the turn you need (system signage). Networks of neighboring regions connect seamlessly, and a route easily crosses from one province to another (unified nationwide network).
How to build a route: three steps
Step 1. Choose your starting junction
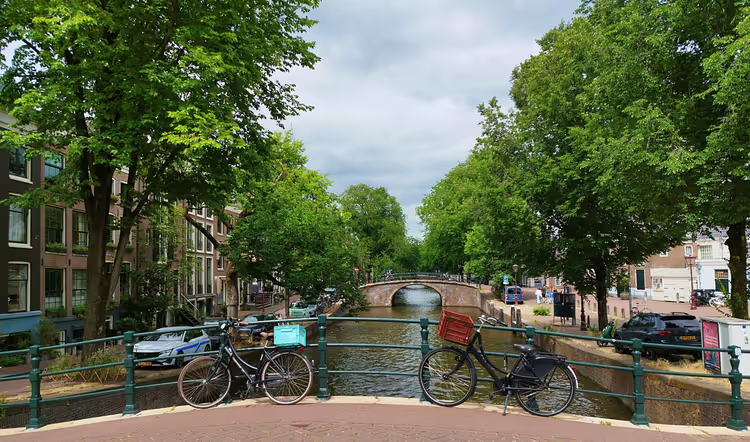
Pick a junction near a train station, parking lot, or your accommodation. Remember its number if you want to finish the ride at the same point. A closed loop is more convenient for a day trip without luggage or overnight stays.
Step 2. Write down the numbers in order
Next, you build a chain of numbers and add the next junction to the list until you reach the desired length. The planner will connect the points with paths and calculate the kilometers for you. The Fietsknoop planner builds a single route no longer than 100 km (Fietsknoop planner).
Step 3. Check the route in advance
Open the planner and lay out the track before the trip. This way you'll see bridges and crossings, and you can also download the GPX file. At the intersection itself, you can change the route on the go: arrows on the board show where to ride next (rules at the intersection).
What to use for bike route planning
Planner | What it's useful for |
|---|---|
the most comprehensive planner in the country, with a free Toertje app for iOS and Android | |
works on the official junction network | |
junction-based planning and regional maps with distances | |
ready-made GPX tracks and a route planner |
The planners open in a browser and don't require installing any software. For a smartphone, the Toertje app from Fietsersbond is more convenient: it has the same planner built in.
How to download a route as GPX
After planning, click export and load the GPX file onto your bike computer or phone (GPX export at Fietsersbond).
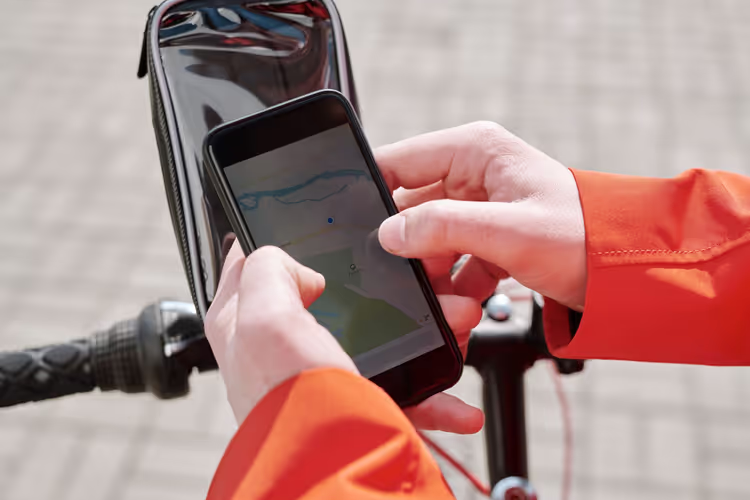
If you don't have a bike computer, load the track into the Toertje app on your phone. The signs along the way show the distance to the next junction, so you always see how much of the day is left (distance between junctions).
Junctions and long-distance LF routes
The junction network works well for day trips. For multi-day trips, the country has long-distance LF cycling routes. They are signposted in both directions, and each one has a guidebook with overnight stays and a free app (long-distance LF routes).
The old LF network is now transitioning to a new standard with a distinct theme and improved service for bicycle tourists (LF network update). Junctions and long routes connect to each other: you can ride part of a route on an LF-route and build the rest from junction points.
What to keep in mind on the road
Sometimes your junction route leads onto a trail marked by ANWB. In that case, follow the ANWB signs for a while until you return to the junctions. Junction signs have largely replaced the old hexagonal markers for circular cycling routes, although some circular routes are still marked (replacing hexagonal signs).
Thematic routes run on top of the network: the Van Gogh route in Brabant, the Elfstedenroute in Friesland, the Heuvelland-Fietsroute in South Limburg (thematic cycling routes).
- Who it's for: those who want a flexible route and choose their own distance.
- Not for: those who want a ready-made guided tour with a fixed itinerary.
⁉️🤔 Frequently asked questions
Can you ride the junctions in reverse?
Yes. Every segment between two junctions is marked in both directions, so you can ride it either way. You simply follow the numbers in reverse order. The white and green signs don't change, only the sequence of points in your list changes.
Do you need a map if you're riding by junctions?
Formally, a list of numbers is enough. In practice, the signs between junctions don't work well without a suitable map or list of junctions, and this is a recognized flaw of the system (network reference). Take a paper junction map or keep the planner open on your phone.
Will the route work without internet?
The planner provides a GPX file that stores the track on your device. Load it into a bike computer or app, and navigation will keep working offline.
Where do you stay overnight on a multi-day trip?
If you're riding for several days, look at LF-routes: each long route has a guidebook with accommodations and a free app (overnight stays on LF-routes). The junction network doesn't disappear: you start the new day at the junction where you finished yesterday.
Does the system work on the islands?
Almost the entire territory of the Netherlands is covered by junctions. The small Frisian Wadden Islands are the exception: they have their own system of cycling signs (system on the islands). If you're planning a trip to Texel, check the local signage in advance.
In short: how to build a route
The junction network runs on intersection numbers and white and green signs, so you build your entire cycling route through the Netherlands yourself, without a guide or a ready-made itinerary. If you have half a day, close a short loop around your starting point. If you have a full day, extend the chain further and return by evening. With kids, choose junctions without long stretches and keep a train station or hotel nearby in case of rain.
Open the Fietsersbond planner the day before and download the track as a GPX file.
A small editorial team writing guides for independent travel. We travel ourselves, but we haven’t been everywhere, so we check prices, opening hours and how to get there against official sources.